
So far this week we worked on spelling our names in hieroglyphs and decorated some Greek pots. Now it's time to check out some art from Ancient Rome. I chose to teach my students about Roman frescoes for two reasons 1. The technique of painting on wet plaster is a bit puzzling and novel for most kids and 2. The idea of painting directly on your wall versus hanging paintings on the wall is not what most kids see, but what they'd certainly love to do if their parents would only let them!
Instead of plastering over a wall in the classroom, I opted for small squares of cardboard, and instead of Plaster of Paris, which most projects like this call for, I'm going to use Crayola's air drying clay because it's less toxic, but can produce a similar effect.
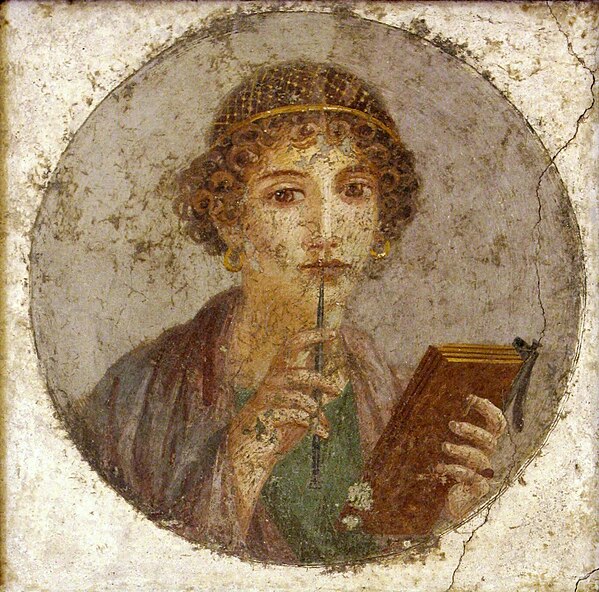
And of course, because I've had a busy week, I forgot my sample of today's project at work and will have to post it later. Until then, enjoy the very lovely fresco from Pompeii around 50 CE, it's believed to be of the poet Sappho.
top image: Sappho, Pompeii 50 CE via Wikipedia Commons
materials:
watercolors
Crayola air dry clay
square of cardboard
pointed q-tips, pencil or toothpick
paint brushes
get to work:
1. I start this lesson by showing the children the continent of Europe and asking them if they know which one it is (typically at least one kid knows). Then I show them where Rome is and we color in the country of Italy (because it's a little easier for them to identify a country rather than a region). Note: If you're working with younger kids under 4-5 you can skip this step.
2. Next we discuss that a very long time ago in Ancient Rome, people would decorate their houses by making frescoes on the walls. Make sure to explain that a fresco is a painting done on a wall when the plaster (or wall covering) is still wet and not yet dry. The paint then dries on the wall too and the picture is there for a very long time. Often people painted scenes that told stories.
3. Now invite the children to make their own frescoes. Make sure to have extra clay for each child so that they can experiment, start over, try something new etc.
4. Spread the clay on the cardboard.
5. Using watercolors they can then paint the background color for their fresco.
6. With the q-tip, toothpick or pencil they can gently outline their drawing in the clay. This helps prevent colors from spreading or running all over the clay.
7. Continue painting until finished.
8. Let dry.
alternative:
If you are working with an older child you might want to use a shoe box instead of the cardboard. Cover the bottom of the box with clay and let them paint a scene. They can then put the shoe box on its side and decorate it like a room in a Roman villa.


No comments
Post a Comment